Example 01 / Radial Chromatic Aberration
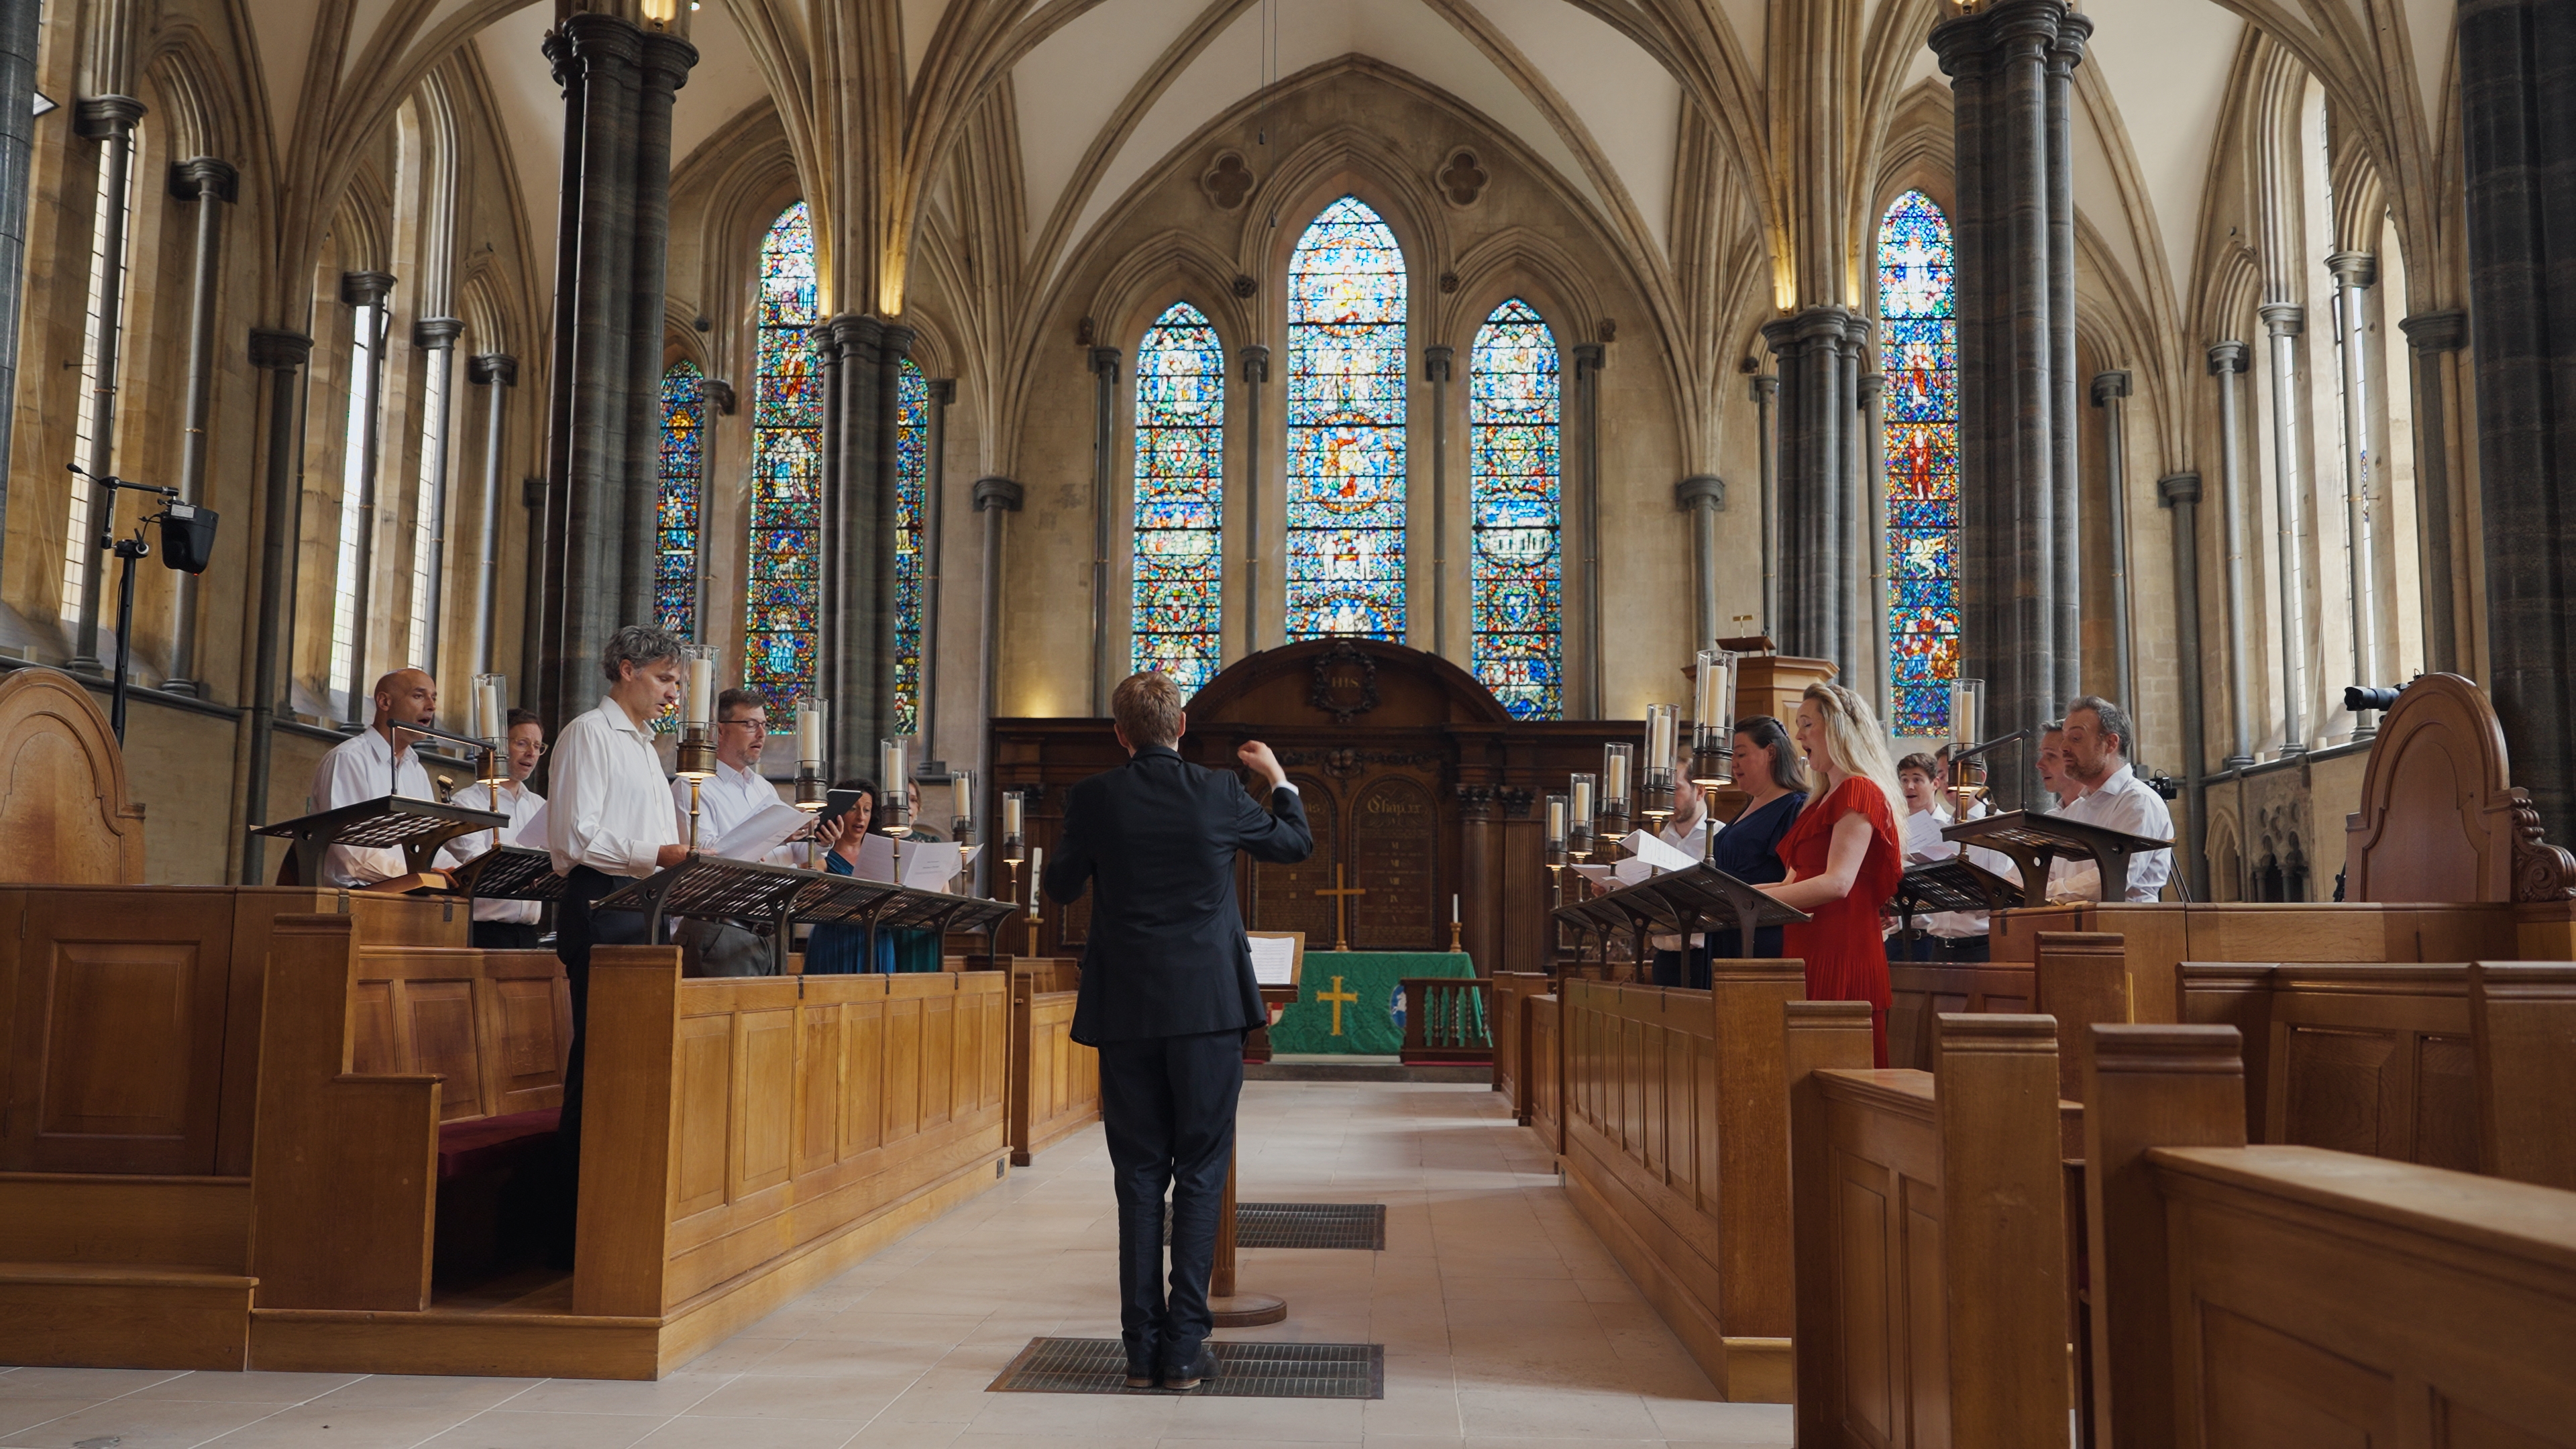
BEFORE
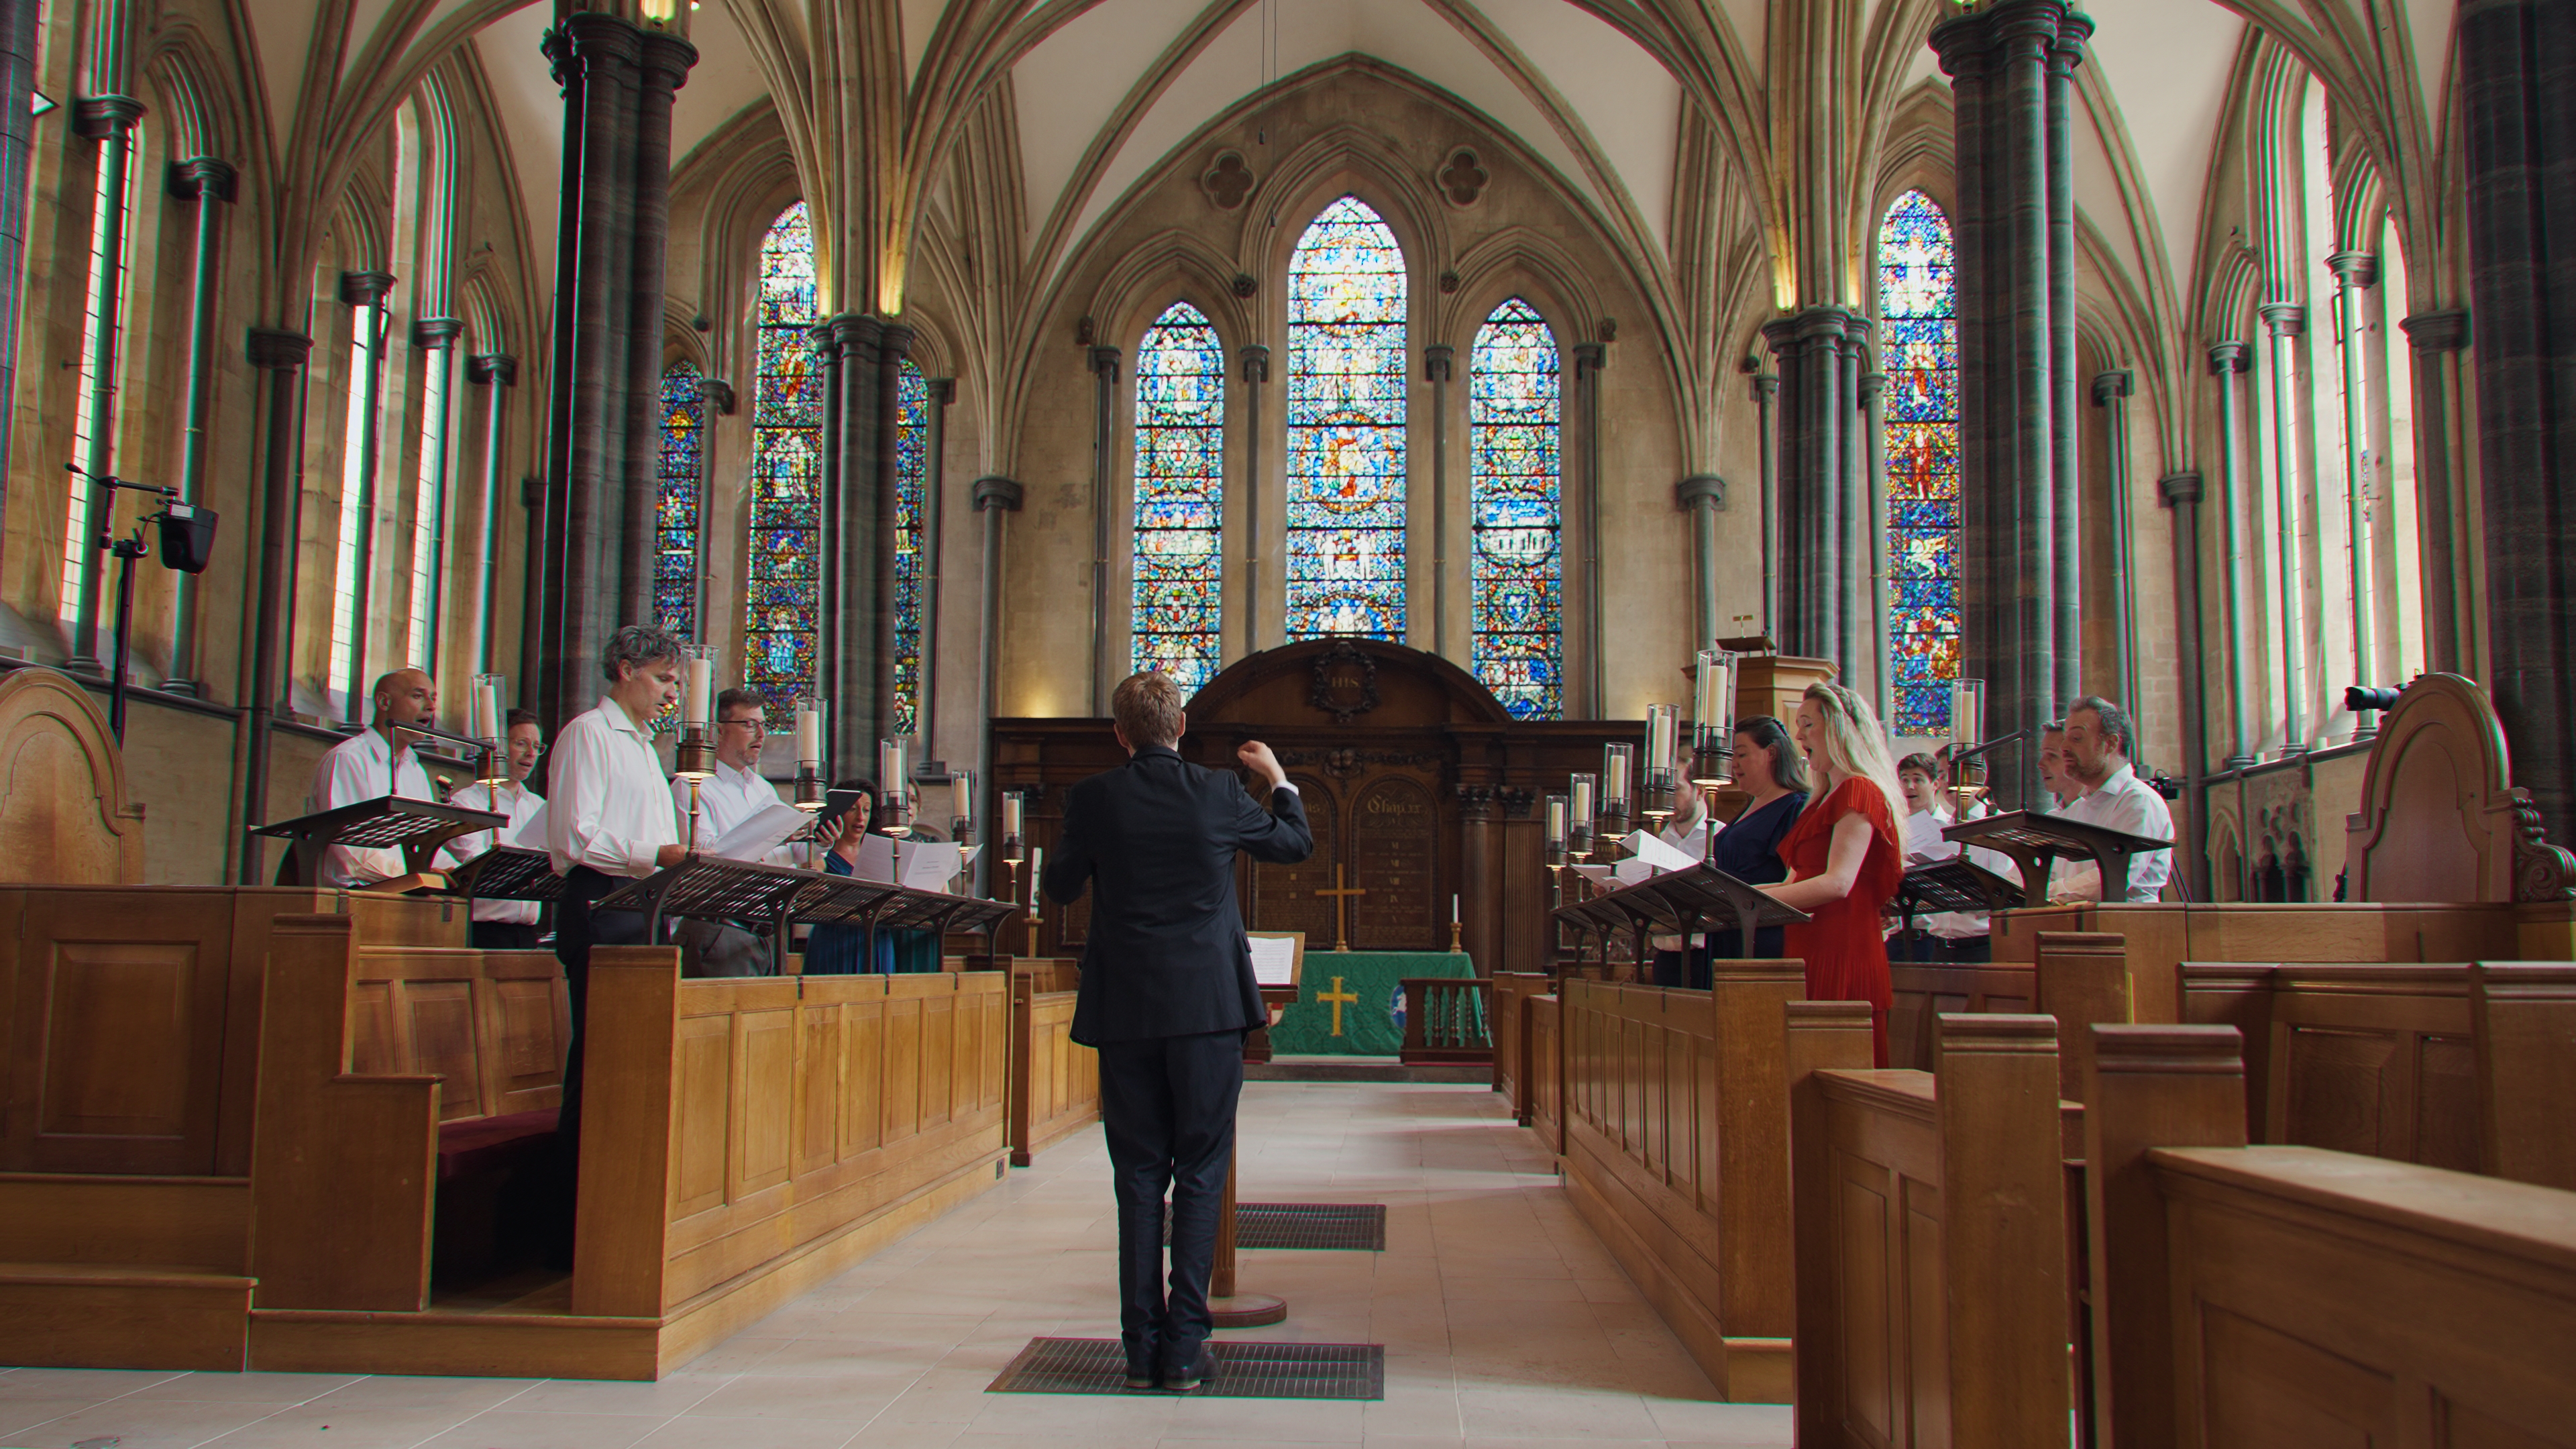
AFTER
LinearLens / DaVinci Resolve DCTLs
Radial Chromatic Aberration models lateral colour separation as a field-dependent displacement rather than a global red/cyan split.
Demonstration
Each wipe uses one neutral frame from the demo set and the matching LinearLens output for this tool.
Example 01 / Radial Chromatic Aberration
Example 02 / Radial Chromatic Aberration


Example 03 / Radial Chromatic Aberration


The science
Lateral chromatic aberration occurs because different wavelengths can have slightly different image magnification. The colour separation therefore tends to grow with distance from the optical axis and points radially through the field.
A global channel offset does not describe that geometry. A field-aware displacement can remain almost invisible around the optical centre while gradually appearing towards the edges, which is much closer to the visual signature of imperfect lens correction.
A fixed channel offset moves colour in the same direction everywhere. Radial CA changes displacement with field position, so the effect belongs to an optical centre.
Sub-pixel movement allows the useful range to stay subtle. The goal can be a barely perceptible loss of digital perfection rather than an obvious music-video effect.
Radial Chromatic Aberration
Useful for matching very clean digital capture to more imperfect optics, reducing the mathematically perfect feel of CGI or composited elements, and introducing edge character without a uniform channel-offset gimmick.
Design principle
Displacement changes with distance and direction from a selectable optical centre.
Design principle
Small separations are available before the effect becomes overtly stylised.
Design principle
RGB displacement can be shaped rather than forcing one symmetric split.
Design principle
Built to live in the same scene-linear optical block as the rest of the LinearLens tools.
How to use
The DCTL does not need to own your colour management. Put the transforms around it: camera source into a suitable linear RGB representation, LinearLens in the middle, then into the colour-development space you want to grade in.
The important placement is the highlighted block: LinearLens belongs after you have made the image linear, and before the development, grading and film-look stages that intentionally reshape tonal values.
Use a Colour Space Transform, ACES transform or equivalent to get the image into a scene-linear RGB representation while retaining an appropriate gamut.
Place diffusion, bloom, CA, MTF sharpening or defocus here. If you use several, this is the optical-character section of the chain.
Transform onwards into the space used for camera matching, primary colour, creative looks and film emulation. Those stages can then work on an image whose optical character is already established.
Also available
The complete LinearLens suite is a lifetime licence and saves £50 against buying the five tools separately.
Buy the suite