Example 01 / MTF Sharpen
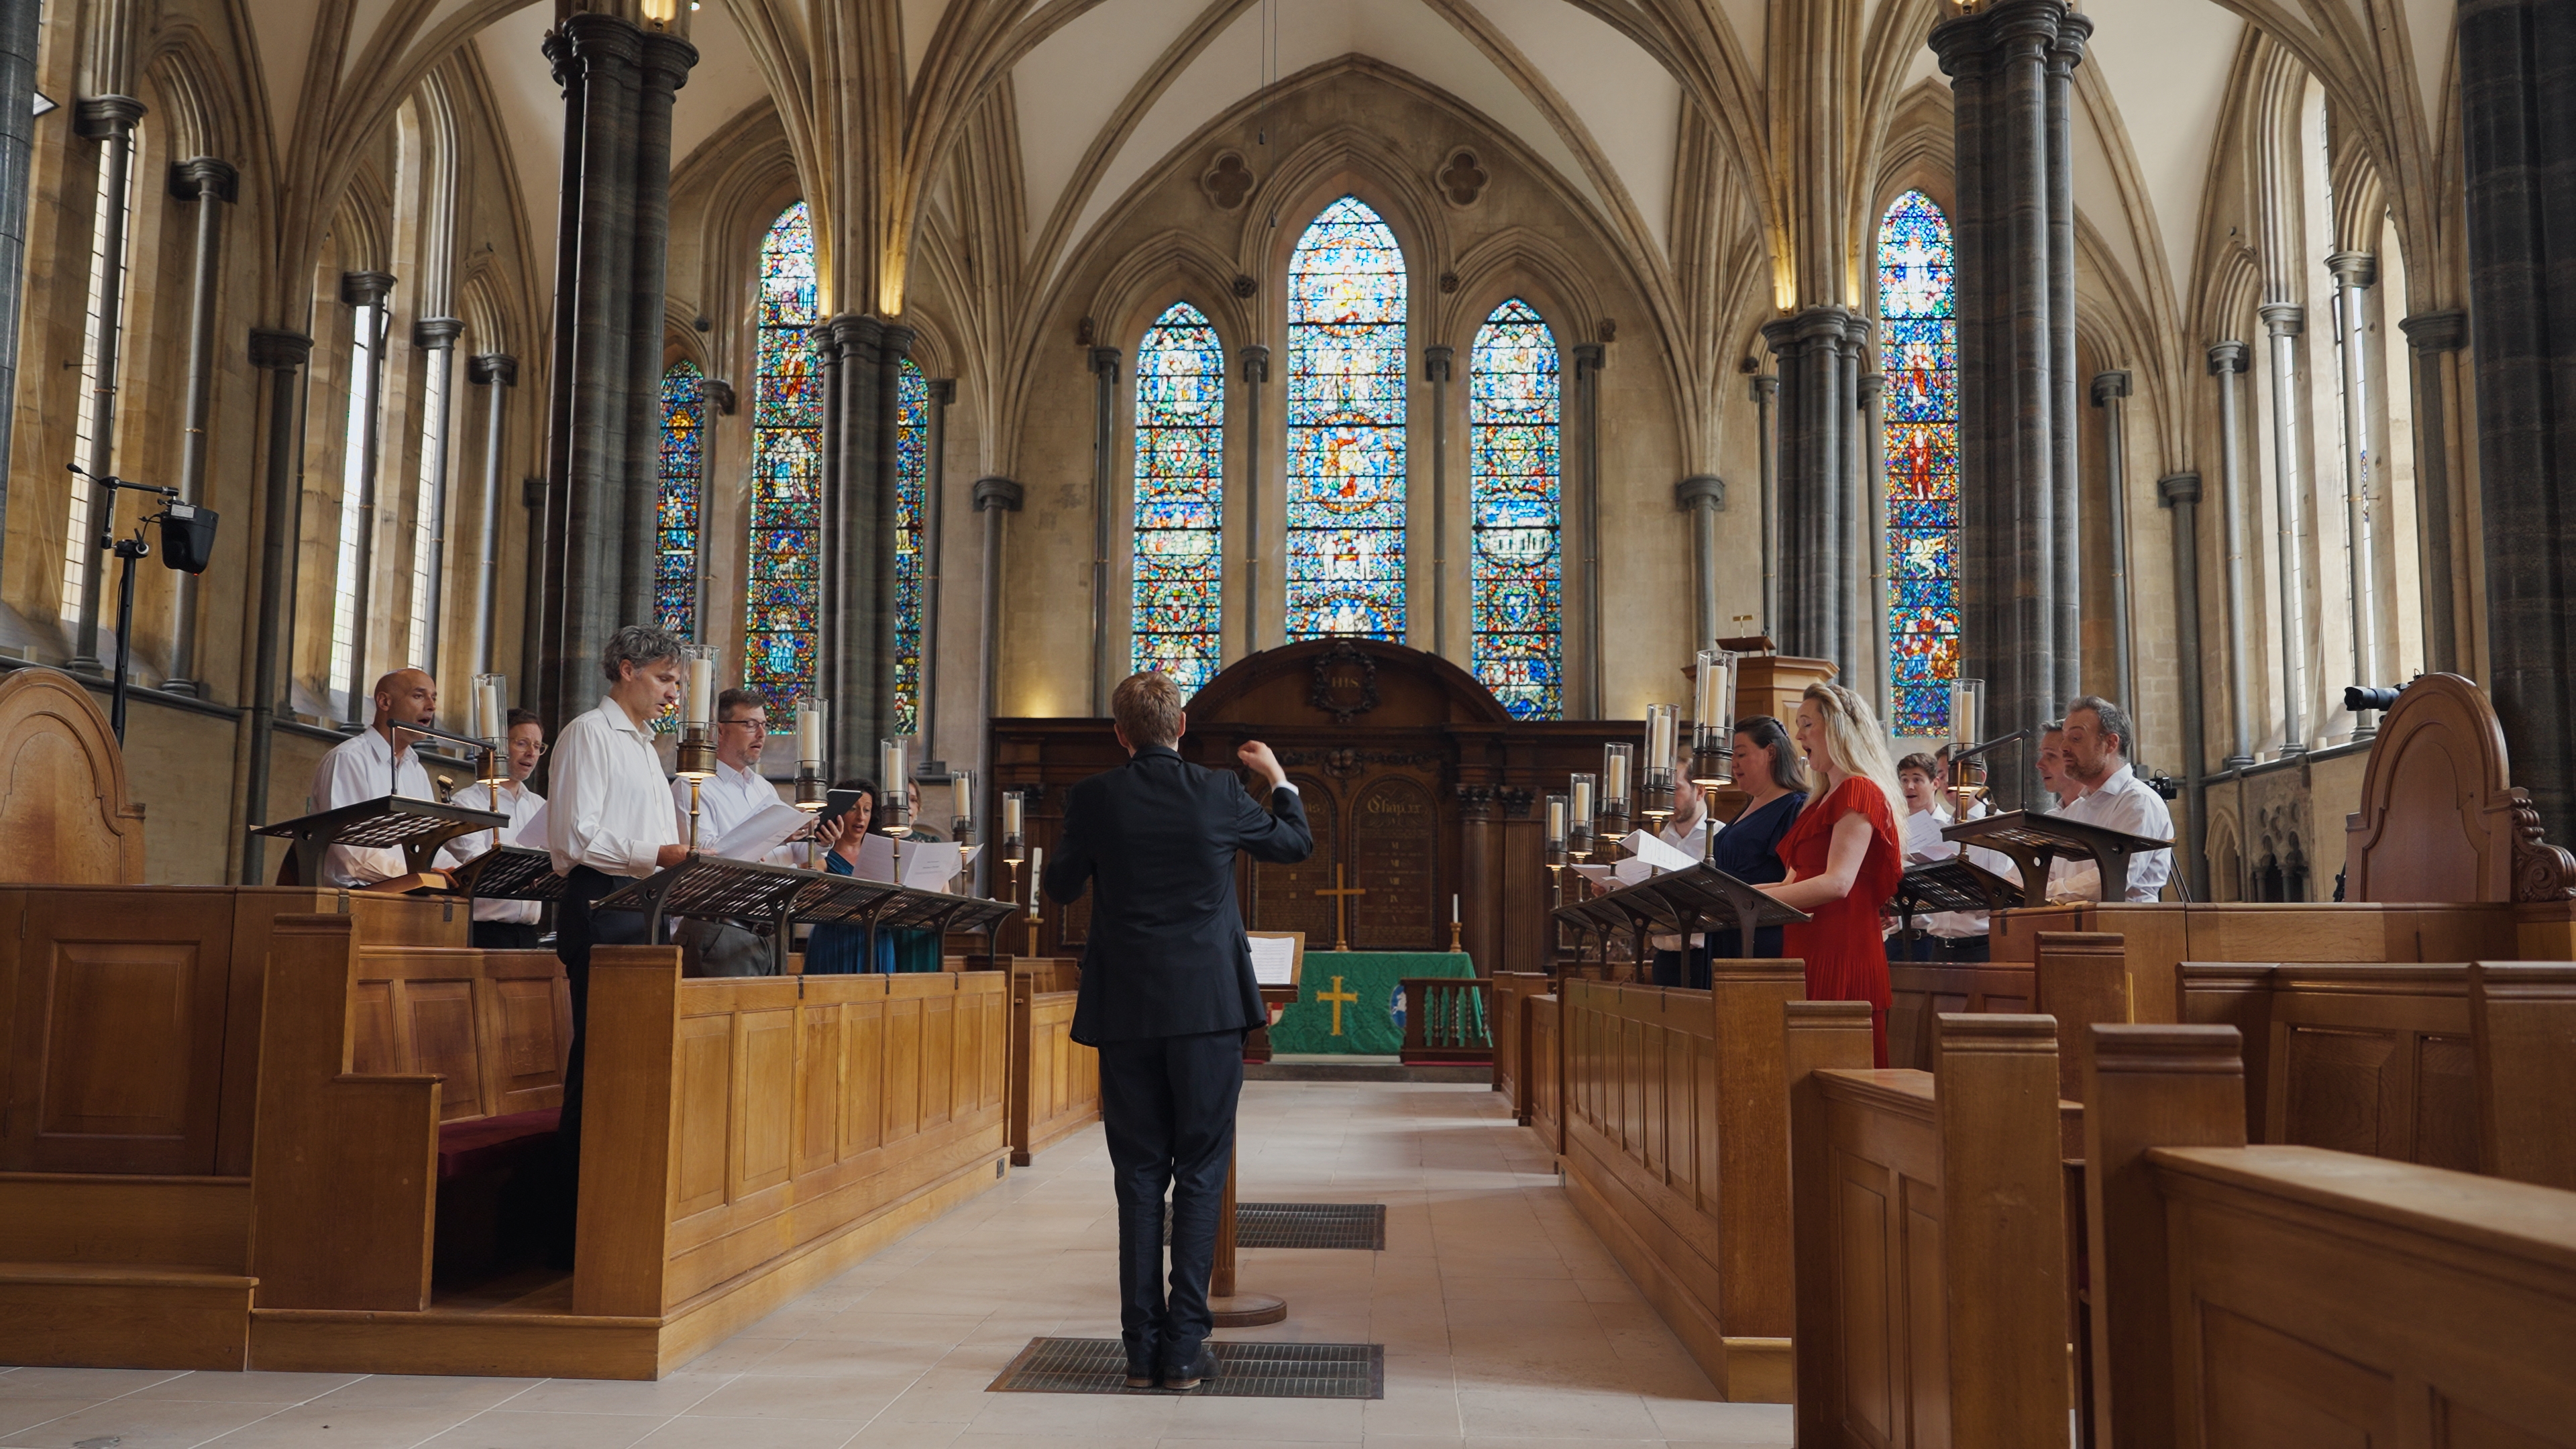
BEFORE
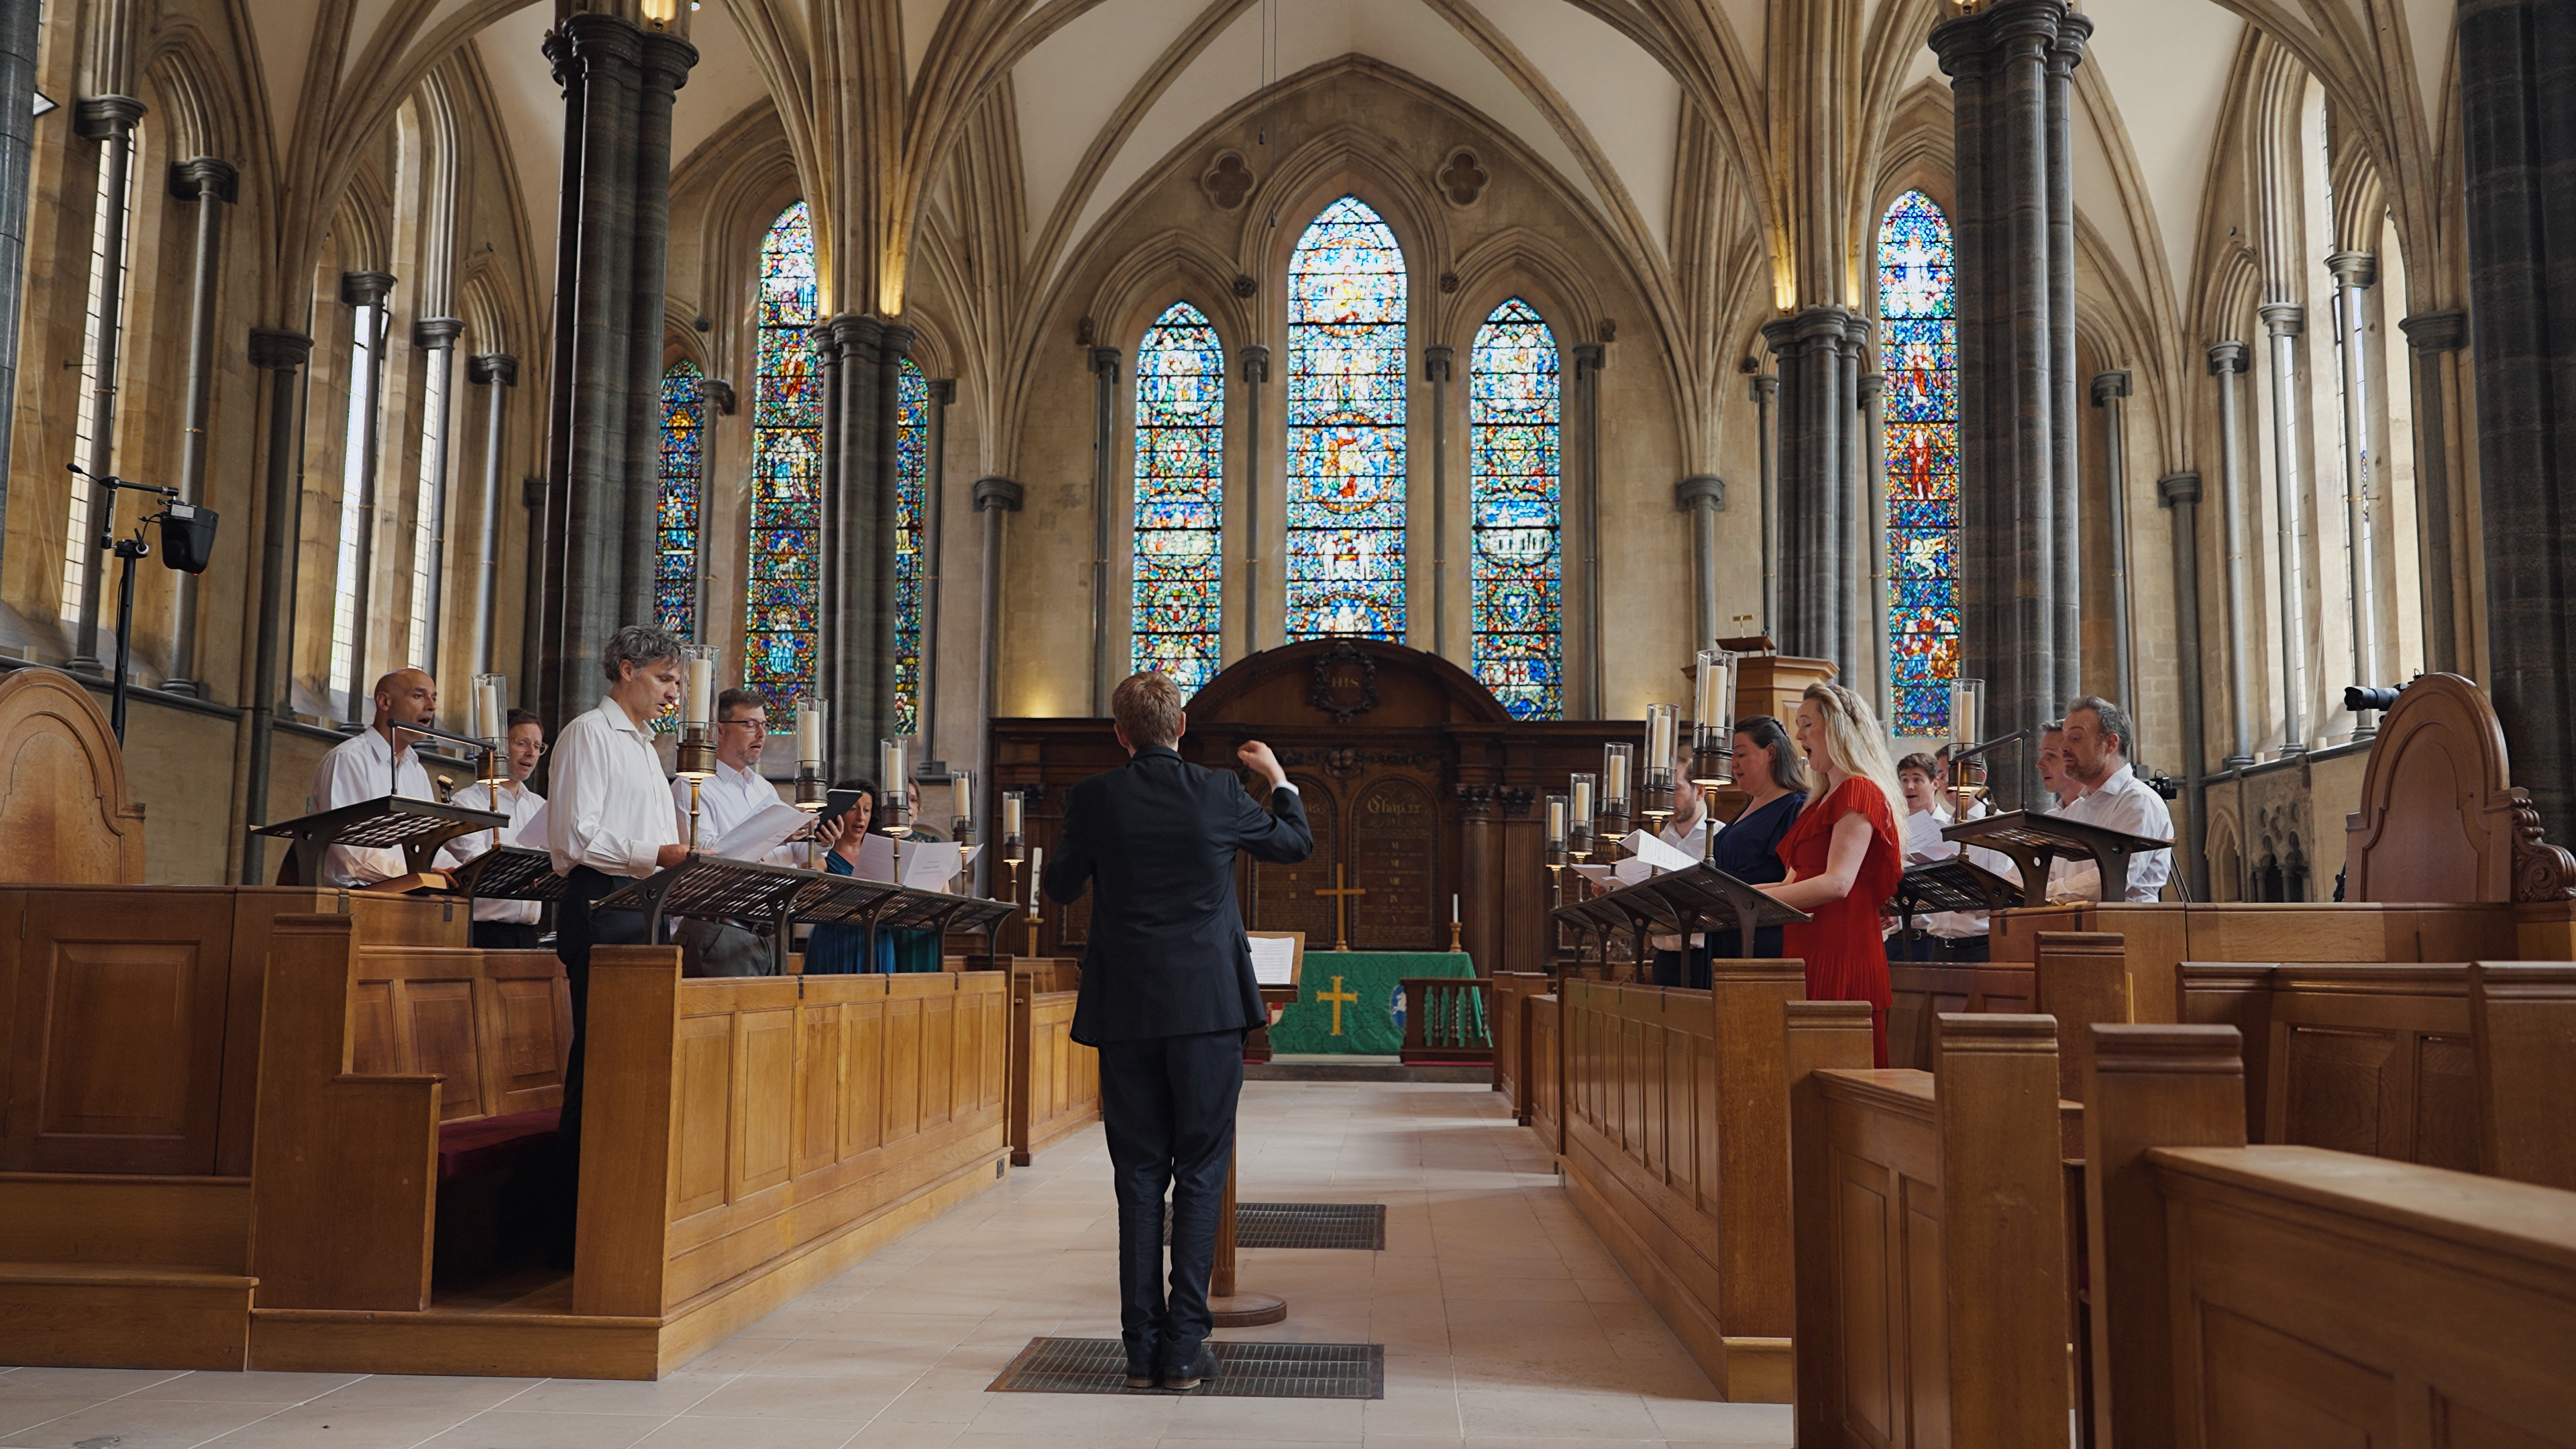
AFTER
LinearLens / DaVinci Resolve DCTLs
MTF Sharpen is designed around the idea that a lens-and-sensor system attenuates different spatial frequencies by different amounts.
Demonstration
Each wipe uses one neutral frame from the demo set and the matching LinearLens output for this tool.
Example 01 / MTF Sharpen
Example 02 / MTF Sharpen


Example 03 / MTF Sharpen


The science
The modulation transfer function describes how contrast is transmitted through an imaging system as detail becomes finer. Real optics do not simply switch between sharp and blurred; their response rolls off across spatial frequency.
A sharpening stage can therefore be thought of as reshaping that response. Working in linear light also avoids letting a gamma curve determine the relative weight of neighbouring light values before the spatial correction is made.
An unsharp mask is excellent at creating local edge contrast, but its visual signature can quickly become a halo. MTF Sharpen is intended for restrained resolution shaping and matching earlier in the pipeline.
Putting resolution shaping in the same linear optical block as diffusion or defocus makes it easier to balance perceived acuity against deliberate light spread.
MTF Sharpen
Useful after diffusion, when matching lenses or cameras, or whenever you want the sharpening stage to behave as part of the optical model rather than as a finishing effect after the image is already rendered.
Design principle
Built around shaping spatial response instead of simply making edge transitions steeper.
Design principle
Neighbouring values are processed before a nonlinear development curve changes their relationship.
Design principle
The stage can remain sensitive to channel behaviour instead of treating every component as one luminance edge map.
Design principle
Designed to be useful for lens matching and perceived-resolution control as well as stronger creative settings.
How to use
The DCTL does not need to own your colour management. Put the transforms around it: camera source into a suitable linear RGB representation, LinearLens in the middle, then into the colour-development space you want to grade in.
The important placement is the highlighted block: LinearLens belongs after you have made the image linear, and before the development, grading and film-look stages that intentionally reshape tonal values.
Use a Colour Space Transform, ACES transform or equivalent to get the image into a scene-linear RGB representation while retaining an appropriate gamut.
Place diffusion, bloom, CA, MTF sharpening or defocus here. If you use several, this is the optical-character section of the chain.
Transform onwards into the space used for camera matching, primary colour, creative looks and film emulation. Those stages can then work on an image whose optical character is already established.
Also available
The complete LinearLens suite is a lifetime licence and saves £50 against buying the five tools separately.
Buy the suite